Apply a bloom post effect using PlayCanvas and JavaScript
Posted: 20 Oct 2024
I've been spending a lot of time working with PlayCanvas both in and out of my day job, so I am always looking to keep learning. They have some great examples here that cover a great range of content. I am thoroughly enjoying the journey of attempting to create content with it.
Saying that, while these are really detailed and cover a lot of ground I have found them somewhat advanced if you're trying to learn from scratch, and they assume a lot of knowledge. I also found that the PlayCanvas forums can be a bit of a mixed bag for finding clear information.
Considering all this I wanted to create the kind of examples I have been looking for as I learned how to do things, and I hope this will help others get started with using the PlayCanvas engine.
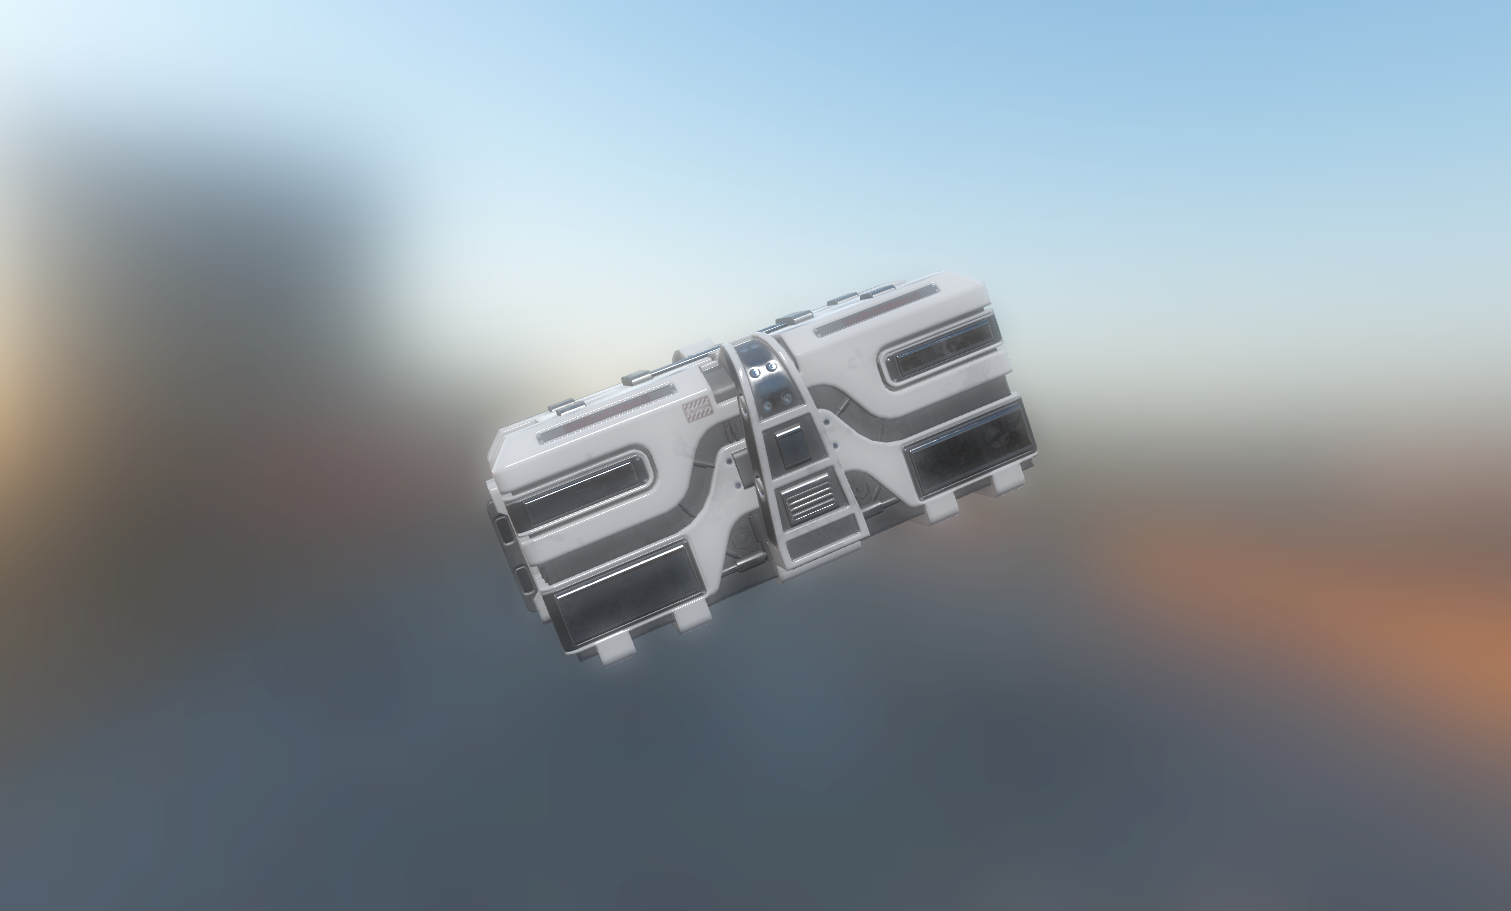
What we will set out to create is what you see in the image at the top of this post. So without any further introduction, here is the code.
To get started we'll need to create a standard HTML page with some basic styles, plus we'll include the PlayCanvas engine import and a canvas element to get us ready to go. We will name this file index.html.
<!DOCTYPE html>
<html lang="en">

<head>
    <meta charset="UTF-8">
    <meta name="viewport" content="width=device-width, initial-scale=1.0">
    <title>PlayCanvas 2.0 (Bloom)</title>
    <style>
        body {
            margin: 0;
            padding: 0;
            width: 100vw;
            height: 100vh;
            overflow: hidden;
        }

        canvas {
            width: 100%;
            height: 100%;
        }
    </style>
    <script src="https://cdn.jsdelivr.net/npm/playcanvas@2.0.0/build/playcanvas.min.js"></script>
</head>
<body>
    <canvas id="application"></canvas>
    <script></script>
</body>
</html>
From this point we can start adding the JavaScript to get the PlayCanvas app running. Replace the empty script element with the code below.
<script>
    // Save a reference to the canvas element
    const canvas = document.getElementById('application');

    // Add assets to load here

    // Create the application and start the update loop
    const app = new pc.Application(canvas);

    // Set the canvas to fill the window and automatically change resolution to be the same as the canvas size
    app.setCanvasFillMode(pc.FILLMODE_FILL_WINDOW);
    app.setCanvasResolution(pc.RESOLUTION_AUTO);

    // Resize the canvas when the window is resized
    window.addEventListener('resize', function () {
        app.resizeCanvas();
    });

    // Load and display assets here
</script>
At this point, if you run it you will not see anything as we have not called the start function yet. We will do that now after loading in some assets to use in our example.
I am using a cubemap for the sky that I borrowed from the PlayCanvas engine repository, which you can download here: https://github.com/playcanvas/engine/blob/main/examples/assets/cubemaps/helipad-env-atlas.png
As well as this I am using a crate model I downloaded from Sketchfab, but you can use any model you like. The crate: https://sketchfab.com/3d-models/sci-fi-lowpoly-prop-crate-3e8553b6c9164867b6132196c1a7c8fb
Place both of these inside a folder called assets in the same directory as your index.html file.
To use these we will make use of the asset list loader method, by adding this code under the assets comment.
const assets = {
    crate: new pc.Asset('crate', 'model', { url: './assets/lowpoly_crate.glb'}),
    helipad: new pc.Asset(
        'helipad-env-atlas',
        'texture',
        { url: './assets/helipad-env-atlas.png' },
        { type: pc.TEXTURETYPE_RGBP, mipmaps: false }
    )
};
This code defines the type of location of the two assets we would like to use in our application. Later we will also add our post effect script to these assets.
Now we're ready to load them into our application and run it. This will be a longer piece of code, but I will attempt to break it down. We will place this code just before our closing script tag.
const assetListLoader = new pc.AssetListLoader(Object.values(assets), app.assets);
assetListLoader.load(() => {
    // Start the application
    app.start();

    // Setup sky
    app.scene.envAtlas = assets.helipad.resource;
    app.scene.skyboxMip = 1;
    app.scene.exposure = 1;

    // Create directional light
    const light = new pc.Entity('light');
    light.addComponent('light');
    light.setEulerAngles(45, 0, 0);
    app.root.addChild(light);

    // Create camera
    const cameraEntity = new pc.Entity('Camera');
    cameraEntity.addComponent('camera', {
        clearColor: new pc.Color(0.1, 0.1, 0.1)
    });
    cameraEntity.setPosition(0, 0, 10);
    app.root.addChild(cameraEntity);

    // Add a crate model for testing, any type of 3D model can be used
    const crate = new pc.Entity('Crate');
    crate.addComponent('model', {
        type: 'asset',
        asset: assets.crate
    })
    crate.setPosition(0, 0, 0);
    app.root.addChild(crate);

    // Add a script component to the cameraEntity and assign the script

    // App update loop
    app.on('update', dt => {
        crate.rotate(10 * dt, 10 * dt, 10 * dt);
    });
});
In this code we are setting up the asset list loader and then wait for them all to load before we start running our PlayCanvas app. You will see inside the load command we call app.start(). After this we define the sky we'd like to use by setting it to the cubemap asset, by referencing the asset defined in the earlier object.
Now, we can start adding entities and components. This is the development pattern PlayCanvas uses for adding anything to our application. The comments for each of these explain what we are adding, although I won't go into too much detail on how these work. But you can read more in the documentation here.
You will see we add our crate 3D model by also referring to the 3D model we referenced in the asset object, similar to the cubemap.
Finally, we will define an update event that will rotate our crate. This is optional, so feel free to skip or comment it out if not desired.
At this point, you should have everything you need to run your PlayCanvas app and have the crate model appear. Now we can start adding the crux of this post, the post effect.
We will keep this in a separate JavaScript file as post effects can often have a lot of moving parts and be lengthy. To get started create a file called bloom.js in the same directory as your html file. We have copied this particular sample post effect from the PlayCanvas repository here.
I won't go into too much detail about how this post effect and the shader code works internally, but there are plenty of resources to learn more just a short Google away.
var SAMPLE_COUNT = 15;

function computeGaussian(n, theta) {
    return ((1.0 / Math.sqrt(2 * Math.PI * theta)) * Math.exp(-(n * n) / (2 * theta * theta)));
}

function calculateBlurValues(sampleWeights, sampleOffsets, dx, dy, blurAmount) {
    // Look up how many samples our gaussian blur effect supports.

    // Create temporary arrays for computing our filter settings.
    // The first sample always has a zero offset.
    sampleWeights[0] = computeGaussian(0, blurAmount);
    sampleOffsets[0] = 0;
    sampleOffsets[1] = 0;

    // Maintain a sum of all the weighting values.
    var totalWeights = sampleWeights[0];

    // Add pairs of additional sample taps, positioned
    // along a line in both directions from the center.
    var i, len;
    for (i = 0, len = Math.floor(SAMPLE_COUNT / 2); i < len; i++) {
        // Store weights for the positive and negative taps.
        var weight = computeGaussian(i + 1, blurAmount);
        sampleWeights[i * 2] = weight;
        sampleWeights[i * 2 + 1] = weight;
        totalWeights += weight * 2;

        // To get the maximum amount of blurring from a limited number of
        // pixel shader samples, we take advantage of the bilinear filtering
        // hardware inside the texture fetch unit. If we position our texture
        // coordinates exactly halfway between two texels, the filtering unit
        // will average them for us, giving two samples for the price of one.
        // This allows us to step in units of two texels per sample, rather
        // than just one at a time. The 1.5 offset kicks things off by
        // positioning us nicely in between two texels.
        var sampleOffset = i * 2 + 1.5;

        // Store texture coordinate offsets for the positive and negative taps.
        sampleOffsets[i * 4] = dx * sampleOffset;
        sampleOffsets[i * 4 + 1] = dy * sampleOffset;
        sampleOffsets[i * 4 + 2] = -dx * sampleOffset;
        sampleOffsets[i * 4 + 3] = -dy * sampleOffset;
    }

    // Normalize the list of sample weightings, so they will always sum to one.
    for (i = 0, len = sampleWeights.length; i < len; i++) {
        sampleWeights[i] /= totalWeights;
    }
}

/**
 * @class
 * @name BloomEffect
 * @classdesc Implements the BloomEffect post processing effect.
 * @description Creates new instance of the post effect.
 * @augments PostEffect
 * @param {GraphicsDevice} graphicsDevice - The graphics device of the application.
 * @property {number} bloomThreshold Only pixels brighter then this threshold will be processed. Ranges from 0 to 1.
 * @property {number} blurAmount Controls the amount of blurring.
 * @property {number} bloomIntensity The intensity of the effect.
 */
function BloomEffect(graphicsDevice) {
    pc.PostEffect.call(this, graphicsDevice);

    // Shaders
    var attributes = {
        aPosition: pc.SEMANTIC_POSITION
    };

    // Pixel shader extracts the brighter areas of an image.
    // This is the first step in applying a bloom postprocess.
    var extractFrag = [
        'varying vec2 vUv0;',
        '',
        'uniform sampler2D uBaseTexture;',
        'uniform float uBloomThreshold;',
        '',
        'void main(void)',
        '{',
        // Look up the original image color.
        '    vec4 color = texture2D(uBaseTexture, vUv0);',
        '',
        // Adjust it to keep only values brighter than the specified threshold.
        '    gl_FragColor = clamp((color - uBloomThreshold) / (1.0 - uBloomThreshold), 0.0, 1.0);',
        '}'
    ].join('\n');

    // Pixel shader applies a one dimensional gaussian blur filter.
    // This is used twice by the bloom postprocess, first to
    // blur horizontally, and then again to blur vertically.
    var gaussianBlurFrag = [
        `#define SAMPLE_COUNT ${SAMPLE_COUNT}`,
        '',
        'varying vec2 vUv0;',
        '',
        'uniform sampler2D uBloomTexture;',
        `uniform vec2 uBlurOffsets[${SAMPLE_COUNT}];`,
        `uniform float uBlurWeights[${SAMPLE_COUNT}];`,
        '',
        'void main(void)',
        '{',
        '    vec4 color = vec4(0.0);',
        // Combine a number of weighted image filter taps.
        '    for (int i = 0; i < SAMPLE_COUNT; i++)',
        '    {',
        '        color += texture2D(uBloomTexture, vUv0 + uBlurOffsets[i]) * uBlurWeights[i];',
        '    }',
        '',
        '    gl_FragColor = color;',
        '}'
    ].join('\n');

    // Pixel shader combines the bloom image with the original
    // scene, using tweakable intensity levels.
    // This is the final step in applying a bloom postprocess.
    var combineFrag = [
        'varying vec2 vUv0;',
        '',
        'uniform float uBloomEffectIntensity;',
        'uniform sampler2D uBaseTexture;',
        'uniform sampler2D uBloomTexture;',
        '',
        'void main(void)',
        '{',
        // Look up the bloom and original base image colors.
        '    vec4 bloom = texture2D(uBloomTexture, vUv0) * uBloomEffectIntensity;',
        '    vec4 base = texture2D(uBaseTexture, vUv0);',
        '',
        // Darken down the base image in areas where there is a lot of bloom,
        // to prevent things looking excessively burned-out.
        '    base *= (1.0 - clamp(bloom, 0.0, 1.0));',
        '',
        // Combine the two images.
        '    gl_FragColor = base + bloom;',
        '}'
    ].join('\n');

    this.extractShader = pc.createShaderFromCode(graphicsDevice, pc.PostEffect.quadVertexShader, extractFrag, 'BloomExtractShader', attributes);
    this.blurShader = pc.createShaderFromCode(graphicsDevice, pc.PostEffect.quadVertexShader, gaussianBlurFrag, 'BloomBlurShader', attributes);
    this.combineShader = pc.createShaderFromCode(graphicsDevice, pc.PostEffect.quadVertexShader, combineFrag, 'BloomCombineShader', attributes);

    this.targets = [];

    // Effect defaults
    this.bloomThreshold = 0.25;
    this.blurAmount = 4;
    this.bloomIntensity = 1.25;

    // Uniforms
    this.sampleWeights = new Float32Array(SAMPLE_COUNT);
    this.sampleOffsets = new Float32Array(SAMPLE_COUNT * 2);
}

BloomEffect.prototype = Object.create(pc.PostEffect.prototype);
BloomEffect.prototype.constructor = BloomEffect;

BloomEffect.prototype._destroy = function () {
    if (this.targets) {
        var i;
        for (i = 0; i < this.targets.length; i++) {
            this.targets[i].destroyTextureBuffers();
            this.targets[i].destroy();
        }
    }
    this.targets.length = 0;
};

BloomEffect.prototype._resize = function (target) {

    var width = target.colorBuffer.width;
    var height = target.colorBuffer.height;

    if (width === this.width && height === this.height) {
        return;
    }

    this.width = width;
    this.height = height;

    this._destroy();

    // Render targets
    var i;
    for (i = 0; i < 2; i++) {
        var colorBuffer = new pc.Texture(this.device, {
            name: `Bloom Texture${i}`,
            format: pc.PIXELFORMAT_RGBA8,
            width: width >> 1,
            height: height >> 1,
            mipmaps: false
        });
        colorBuffer.minFilter = pc.FILTER_LINEAR;
        colorBuffer.magFilter = pc.FILTER_LINEAR;
        colorBuffer.addressU = pc.ADDRESS_CLAMP_TO_EDGE;
        colorBuffer.addressV = pc.ADDRESS_CLAMP_TO_EDGE;
        colorBuffer.name = `pe-bloom-${i}`;
        var bloomTarget = new pc.RenderTarget({
            name: `Bloom Render Target ${i}`,
            colorBuffer: colorBuffer,
            depth: false
        });

        this.targets.push(bloomTarget);
    }
};

Object.assign(BloomEffect.prototype, {
    render: function (inputTarget, outputTarget, rect) {

        this._resize(inputTarget);

        var device = this.device;
        var scope = device.scope;

        // Pass 1: draw the scene into rendertarget 1, using a
        // shader that extracts only the brightest parts of the image.
        scope.resolve('uBloomThreshold').setValue(this.bloomThreshold);
        scope.resolve('uBaseTexture').setValue(inputTarget.colorBuffer);
        this.drawQuad(this.targets[0], this.extractShader);

        // Pass 2: draw from rendertarget 1 into rendertarget 2,
        // using a shader to apply a horizontal gaussian blur filter.
        calculateBlurValues(this.sampleWeights, this.sampleOffsets, 1.0 / this.targets[1].width, 0, this.blurAmount);
        scope.resolve('uBlurWeights[0]').setValue(this.sampleWeights);
        scope.resolve('uBlurOffsets[0]').setValue(this.sampleOffsets);
        scope.resolve('uBloomTexture').setValue(this.targets[0].colorBuffer);
        this.drawQuad(this.targets[1], this.blurShader);

        // Pass 3: draw from rendertarget 2 back into rendertarget 1,
        // using a shader to apply a vertical gaussian blur filter.
        calculateBlurValues(this.sampleWeights, this.sampleOffsets, 0, 1.0 / this.targets[0].height, this.blurAmount);
        scope.resolve('uBlurWeights[0]').setValue(this.sampleWeights);
        scope.resolve('uBlurOffsets[0]').setValue(this.sampleOffsets);
        scope.resolve('uBloomTexture').setValue(this.targets[1].colorBuffer);
        this.drawQuad(this.targets[0], this.blurShader);

        // Pass 4: draw both rendertarget 1 and the original scene
        // image back into the main backbuffer, using a shader that
        // combines them to produce the final bloomed result.
        scope.resolve('uBloomEffectIntensity').setValue(this.bloomIntensity);
        scope.resolve('uBloomTexture').setValue(this.targets[0].colorBuffer);
        scope.resolve('uBaseTexture').setValue(inputTarget.colorBuffer);
        this.drawQuad(outputTarget, this.combineShader, rect);
    }
});

// ----------------- SCRIPT DEFINITION ------------------ //
var Bloom = pc.createScript('bloom');

Bloom.attributes.add('bloomIntensity', {
    type: 'number',
    default: 1,
    min: 0,
    title: 'Intensity'
});

Bloom.attributes.add('bloomThreshold', {
    type: 'number',
    default: 0.25,
    min: 0,
    max: 1,
    title: 'Threshold'
});

Bloom.attributes.add('blurAmount', {
    type: 'number',
    default: 4,
    min: 1,
    'title': 'Blur amount'
});

Bloom.prototype.initialize = function () {
    this.effect = new BloomEffect(this.app.graphicsDevice);

    this.effect.bloomThreshold = this.bloomThreshold;
    this.effect.blurAmount = this.blurAmount;
    this.effect.bloomIntensity = this.bloomIntensity;

    var queue = this.entity.camera.postEffects;

    queue.addEffect(this.effect);
};
There are other example post effects in the link to the repository I provided above, which you can try out yourself.
Once you've created the bloom.js file and added the code above it is now time to connect it to your app. We do this by adding the JavaScript file to our assets loader, adding a script component to your camera entity, and then linking the script to our component.
const assets = {
    bloom: new pc.Asset('bloom', 'script', { url: './bloom.js' }),
    crate: new pc.Asset('crate', 'model', { url: './assets/lowpoly_crate.glb'}),
    helipad: new pc.Asset(
        'helipad-env-atlas',
        'texture',
        { url: './assets/helipad-env-atlas.png' },
        { type: pc.TEXTURETYPE_RGBP, mipmaps: false }
    )
};
// Add a script component to the cameraEntity and assign the script
cameraEntity.addComponent('script');
cameraEntity.script.create('bloom', assets.bloom);
Now when you load your index.html file in your browser you should see exactly what is shown at the top of this post. You can see a working example of it here.
If you have any questions I am happy to try and help. You can reach me at https://bsky.app/profile/salvagelabs.dev.
playcanvas, engine, post effects, javascript, webgl, graphics, post processing